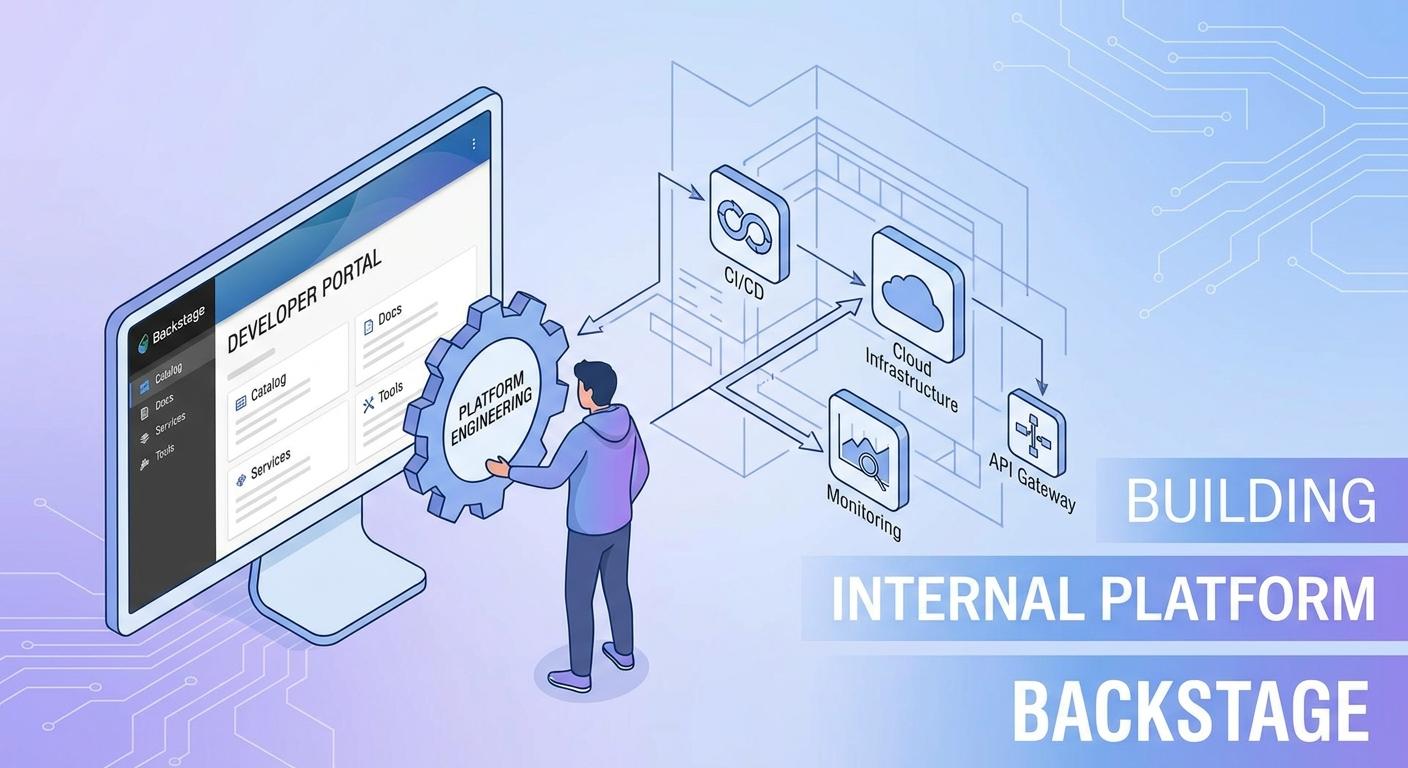
Unlocking Productivity: Building a Backstage Developer Portal for Platform Engineering

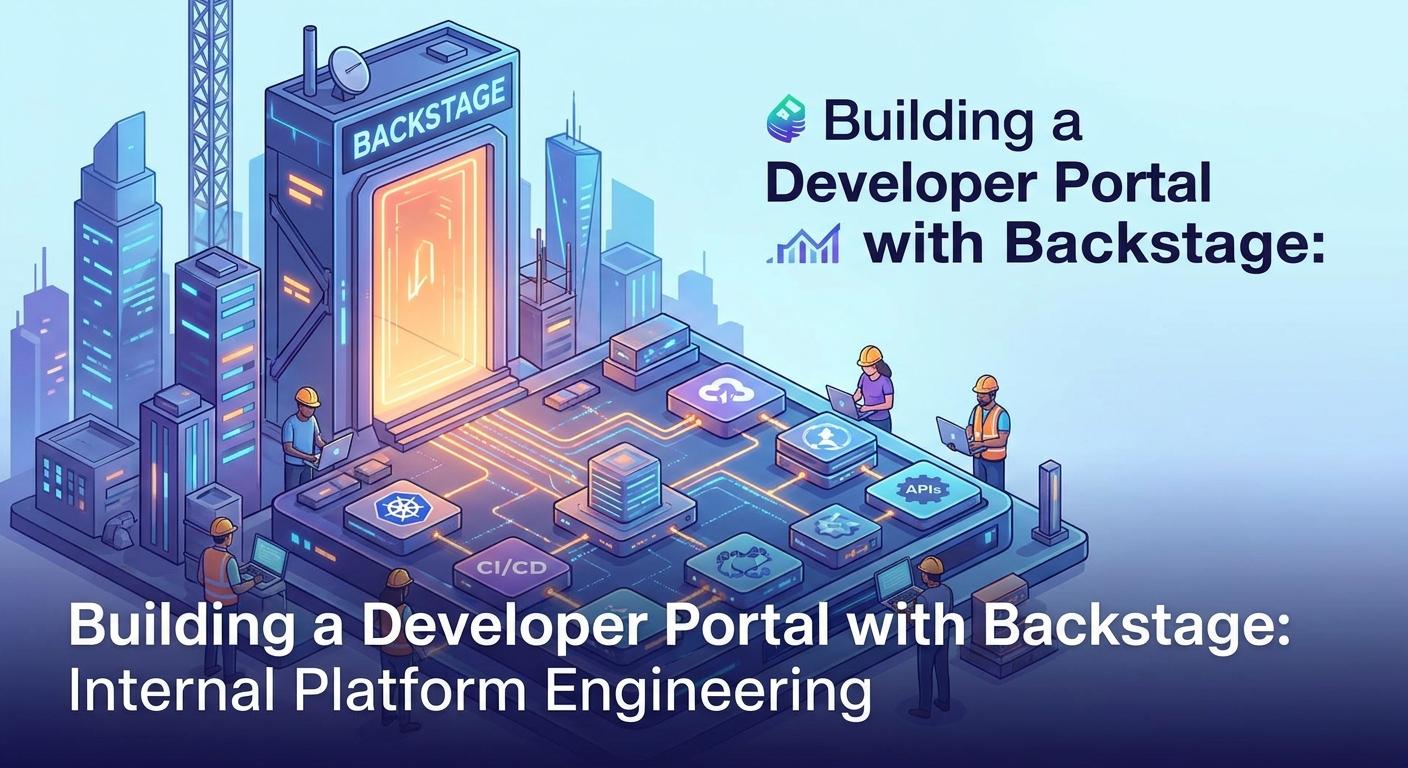
Introduction
In today's fast-paced software development landscape, engineering organizations often grapple with a common challenge: developer experience. As teams grow and microservice architectures proliferate, developers face an ever-increasing cognitive load. They spend valuable time navigating fragmented tools, discovering services, understanding complex infrastructure, and adhering to inconsistent operational practices.
This fragmentation leads to slower onboarding, reduced productivity, and developer frustration. Enter the Internal Developer Platform (IDP), a curated collection of tools and services that streamlines the entire software development lifecycle. At its core, an IDP aims to abstract away complexity, providing developers with a self-service, golden path to building, deploying, and operating software.
Backstage, an open-source project from Spotify, has emerged as the leading framework for building these IDPs. It acts as the central nervous system for your engineering organization, consolidating all your infrastructure tooling, services, and documentation into a single, cohesive developer portal. For platform engineering teams, Backstage isn't just a tool; it's a strategic asset for enhancing developer productivity and standardizing operations.
This comprehensive guide will walk you through the journey of building a powerful developer portal with Backstage, specifically tailored for internal platform engineering initiatives. We'll cover everything from initial setup and core concepts to advanced customization, best practices, and common pitfalls, equipping you to transform your organization's developer experience.
Prerequisites
Before we dive in, ensure you have the following installed on your development machine:
- Node.js: Version 16 or higher (LTS recommended).
- Yarn: Version 1.x or higher.
- Git: For version control and cloning repositories.
- Docker (Optional but Recommended): For running local databases or containerized services.
1. The "Why" Behind a Developer Portal and IDP
Platform engineering is about providing a self-service layer that enables product development teams to deliver value faster and more reliably. A developer portal, powered by Backstage, is the primary interface for this IDP. Here's why it's crucial:
- Reduced Cognitive Load: Developers no longer need to remember where every service lives, how to provision a new database, or which CI/CD pipeline to use. Everything is discoverable and accessible in one place.
- Faster Onboarding: New engineers can quickly find documentation, understand the tech stack, and provision their first service with minimal guidance.
- Standardization and Best Practices: Platform teams can codify "golden paths" for service creation, deployment, and operations, ensuring consistency and adherence to organizational standards.
- Self-Service Capabilities: Empower developers to provision resources, generate new projects, and manage their services without waiting for ops teams.
- Improved Compliance and Security: By standardizing tools and processes, it becomes easier to enforce security policies and track compliance across the organization.
- Enhanced Discoverability: A centralized catalog makes it easy to find existing services, APIs, and documentation, preventing duplication of effort.
2. Introducing Backstage: Core Concepts
Backstage is more than just a dashboard; it's a framework designed to be highly extensible. Its core functionalities form the backbone of any effective IDP:
- Software Catalog: The heart of Backstage. It's a centralized registry for all your software, including microservices, libraries, APIs, websites, data pipelines, and even infrastructure resources. Each entry (an "entity") has metadata describing its ownership, dependencies, and lifecycle.
- Software Scaffolder: A powerful templating engine that allows developers to create new projects quickly and consistently. It automates boilerplate generation, ensuring new services adhere to organizational standards from day one.
- TechDocs: A "docs-as-code" solution that renders technical documentation directly within Backstage. It promotes a culture where documentation lives alongside the code it describes, ensuring it stays up-to-date.
- Plugins: Backstage's extensibility comes from its plugin architecture. You can integrate with virtually any external tool or service (e.g., CI/CD systems, monitoring tools, cloud providers, incident management systems) by adding or building plugins.
Backstage Architecture Overview
Backstage typically consists of a frontend (React-based UI), a backend (Node.js/Express with various services), and a database (often PostgreSQL or SQLite for development). The backend serves the catalog, scaffolder, and other core services, while the frontend provides the user interface and interacts with these backend services.
3. Prerequisites and Initial Setup
Let's get your Backstage instance up and running. The @backstage/create-app CLI tool simplifies the initial setup significantly.
First, open your terminal and run:
npx @backstage/create-appThe CLI will prompt you for a project name (e.g., my-developer-portal). Once created, navigate into the directory and install dependencies:
cd my-developer-portal
yarn install
Now, you can start your Backstage application:
yarn devThis command will start both the frontend and backend, typically accessible at http://localhost:3000. You'll see a basic Backstage portal, ready for customization.
Initial Directory Structure
Familiarize yourself with the basic project structure:
app-config.yaml: Main configuration file for Backstage, defining external integrations, database settings, and more.packages/app: Contains the frontend application, where you'll add/remove plugins and customize the UI.packages/backend: Contains the backend services, including the catalog, scaffolder, and any custom backend plugins.packages/cli: The Backstage CLI tools.packages/core: Core Backstage functionalities.
4. Populating the Software Catalog
The Software Catalog is the central directory of all your software assets. It's powered by catalog-info.yaml files, which define entities and their metadata. These YAML files can live alongside your code in Git repositories.
Entity Types
Backstage defines several standard entity types:
- Component: A deployable unit of software (e.g., a microservice, a website, a library).
- API: A definition of an API (e.g., OpenAPI spec, GraphQL schema).
- System: A collection of related components and APIs that form a logical boundary.
- Domain: A higher-level organizational concept, grouping multiple systems.
- Resource: External infrastructure resources (e.g., a database, a Kafka topic, an S3 bucket).
- User/Group: Represents individuals and teams within your organization, crucial for ownership and RBAC.
Registering an Existing Service
Let's register a hypothetical microservice. Create a catalog-info.yaml file in the root of your service's Git repository (or a central catalog repository):
# services/my-microservice/catalog-info.yaml
apiVersion: backstage.io/v1alpha1
kind: Component
metadata:
  name: my-microservice
  description: |-
    A simple microservice for managing user profiles.
  annotations:
    github.com/project-slug: my-org/my-microservice
    backstage.io/techdocs-ref: url:https://github.com/my-org/my-microservice
  tags:
    - java
    - spring-boot
    - microservice
  links:
    - url: https://my-microservice.prod.example.com
      title: Production URL
      icon: dashboard
spec:
  type: service
  lifecycle: production
  owner: team-alpha
  system: user-management-system
  providesApis:
    - user-profile-api
  dependsOn:
    - resource:user-database
To make Backstage discover this file, you need to configure a catalog location in app-config.yaml:
# app-config.yaml
catalog:
  import:
    entityFilename: catalog-info.yaml
    pullRequestLimit: 1000
  rules:
    - allow:
        - Component
        - API
        - System
        - Domain
        - Resource
        - User
        - Group
  locations:
    - type: url
      target: https://github.com/my-org/my-microservice/blob/main/catalog-info.yaml # URL to your service's catalog-info.yaml
      # Or, for multiple services in a mono-repo or a dedicated catalog repo:
    - type: url
      target: https://github.com/my-org/my-catalog/blob/main/services/**/*.yaml
      rules:
        - allow: [Component, API]
Restart Backstage (yarn dev), and your service should appear in the catalog.
5. Empowering Developers with the Scaffolder
The Software Scaffolder is a game-changer for developer experience, allowing teams to quickly spin up new projects from standardized templates. This ensures consistency, applies best practices, and saves significant time.
Creating a Custom Template
A template consists of a template.yaml file that defines inputs and steps, and a skeleton directory containing the boilerplate code. Let's create a simple template for a Node.js microservice.
First, create a new directory for your template, e.g., packages/backend/templates/nodejs-microservice.
Inside this directory, create template.yaml:
# packages/backend/templates/nodejs-microservice/template.yaml
apiVersion: backstage.io/v1alpha1
kind: Template
metadata:
  name: nodejs-microservice-template
  title: Node.js Microservice
  description: Creates a new Node.js microservice with Express and a basic API.
  tags:
    - recommended
    - nodejs
    - microservice
    - express
spec:
  owner: team-alpha
  type: service
  parameters:
    - id: component_id
      title: Component ID
      type: string
      description: Unique ID for the component (e.g., my-new-service)
      ui:autofocus: true
      ui:options:
        rows: 1
    - id: description
      title: Description
      type: string
      description: A brief description of the microservice.
      ui:options:
        rows: 2
    - id: owner
      title: Owner
      type: string
      description: The team or individual responsible for this service.
      ui:field: OwnerPicker
      ui:options:
        allowedKinds: ["Group", "User"]
    - id: repoUrl
      title: Repository Location
      type: string
      ui:field: RepoUrlPicker
      ui:options:
        allowedHosts:
          - github.com
  steps:
    - id: fetch-base
      name: Fetch Base Template
      action: fetch:template
      input:
        url: ./skeleton
        targetPath: ./
    - id: generate-files
      name: Generate Files
      action: fs:rename
      input:
        files:
          - src/index.ts.hbs
          - package.json.hbs
    - id: publish
      name: Publish to Git
      action: publish:github
      input:
        allowedHosts: ['github.com']
        repoUrl: ${{ parameters.repoUrl }}
        defaultBranch: main
        gitCommitMessage: Initial commit from Backstage Scaffolder
    - id: register
      name: Register in Catalog
      action: catalog:register
      input:
        repoContentsUrl: ${{ steps['publish'].output.repoContentsUrl }}
        catalogInfoPath: '/catalog-info.yaml'
  output:
    links:
      - text: Open in catalog
        url: ${{ steps['register'].output.entityRef }}
      - text: Open in GitHub
        url: ${{ steps['publish'].output.repoUrl }}
Next, create the skeleton directory and add your boilerplate files, using Handlebars (.hbs) for templating:
# packages/backend/templates/nodejs-microservice/skeleton/package.json.hbs
{
  "name": "{{ cookiecutter.component_id }}",
  "version": "1.0.0",
  "description": "{{ cookiecutter.description }}",
  "main": "dist/index.js",
  "scripts": {
    "start": "node dist/index.js",
    "build": "tsc"
  },
  "dependencies": {
    "express": "^4.18.2"
  },
  "devDependencies": {
    "typescript": "^5.2.2",
    "@types/express": "^4.17.21",
    "@types/node": "^20.8.10"
  }
}
// packages/backend/templates/nodejs-microservice/skeleton/src/index.ts.hbs
import express from 'express';

const app = express();
const port = process.env.PORT || 3000;

app.use(express.json());

app.get('/', (req, res) => {
  res.send('Hello from {{ cookiecutter.component_id }}!');
});

app.listen(port, () => {
  console.log(`{{ cookiecutter.component_id }} listening at http://localhost:${port}`);
});# packages/backend/templates/nodejs-microservice/skeleton/catalog-info.yaml.hbs
apiVersion: backstage.io/v1alpha1
kind: Component
metadata:
name: {{ cookiecutter.component_id }}
description: {{ cookiecutter.description }}
annotations:
github.com/project-slug: ${{ "cookiecutter.repoUrl | parseRepoUrl | pick: 'ownerAndRepo'" }}
backstage.io/techdocs-ref: url:https://github.com/{{ "cookiecutter.repoUrl | parseRepoUrl | pick: 'ownerAndRepo'" }}
tags:
- nodejs
- microservice
spec:
type: service
lifecycle: experimental
owner: {{ cookiecutter.owner }}
system: defaultFinally, register your template in app-config.yaml:
# app-config.yaml
scaffolder:
  allowedTemplates:
    - content:
        - entity:template:nodejs-microservice-template
    - content:
        - type: file
          target: packages/backend/templates/**/*.yaml
Restart Backstage. Now, when you go to the "Create" tab, you'll see your new template, allowing developers to self-service new Node.js microservices with ease.
6. Documentation with TechDocs
TechDocs enables a "docs-as-code" approach, where documentation lives alongside the code it describes, is version-controlled, and rendered directly within Backstage. It uses MkDocs under the hood.
Integrating TechDocs
-
Add
mkdocs.ymland Markdown files: In the root of your service's repository (or adocssubdirectory), create anmkdocs.ymlfile and adocsfolder containing your Markdown files.yaml# services/my-microservice/mkdocs.yml
site_name: My Microservice Documentation nav:
- Home: index.md
- API Reference: api.md
- Getting Started: getting-started.md plugins:
- techdocs-core
    ```markdown
    # services/my-microservice/docs/index.md
    # My Microservice Overview

    Welcome to the documentation for `my-microservice`! This service manages user profiles...

    ## Getting Started

    To run this service locally, follow these steps...
-
Update
catalog-info.yaml: Add thebackstage.io/techdocs-refannotation to your component'scatalog-info.yamlto point to the documentation source.yaml# services/my-microservice/catalog-info.yaml (excerpt) annotations: # ... other annotations backstage.io/techdocs-ref: url:https://github.com/my-org/my-microservice/tree/main # Points to the root of the repo where mkdocs.yml and docs/ live -
Enable TechDocs in
app-config.yaml: Ensure the TechDocs backend is configured.yaml# app-config.yaml techdocs: builder: 'local' generator: runIn: 'local' publisher: type: 'local'For production, you'd configure a
s3orgoogleGcspublisher and adockerbuilder. -
Add TechDocs plugin to frontend: Ensure the TechDocs plugin is included in your
packages/app/src/App.tsxandpackages/app/src/components/catalog/EntityPage.tsx.typescript// packages/app/src/components/catalog/EntityPage.tsx (excerpt) import { TechDocsContent } from '@backstage/plugin-techdocs'; import { TechDocsAddons } from '@backstage/plugin-techdocs-react'; import { ReportIssue } from '@backstage/plugin-techdocs-module-addons-contrib'; const serviceEntityPage = ( <EntityLayout> {/* ... other tabs */} <EntityLayout.Route path="/docs" title="Docs"> <TechDocsContent> <TechDocsAddons> <ReportIssue /> </TechDocsAddons> </TechDocsContent> </EntityLayout.Route> </EntityLayout> );
After restarting Backstage, your service page will have a "Docs" tab displaying the rendered documentation.
7. Extending Backstage with Plugins (Customization)
Backstage's true power lies in its extensibility through plugins. There's a rich ecosystem of community-contributed plugins, and you can build your own.
Installing Community Plugins
Adding a plugin typically involves three steps:
- Install the package: Use
yarn addin yourpackages/apporpackages/backenddirectory. - Configure in
app-config.yaml: Add any necessary API keys, URLs, or specific settings. - Integrate into UI/Backend: Add the plugin's components to your
packages/app/src/App.tsxorpackages/backend/src/index.ts.
Example: Adding a Kubernetes Plugin
This plugin allows developers to view their Kubernetes resources directly from Backstage.
-
Install:
cd packages/app && yarn add @backstage/plugin-kubernetescd packages/backend && yarn add @backstage/plugin-kubernetes-backend -
Configure
app-config.yaml(example for a single cluster):yaml# app-config.yaml kubernetes: serviceLocatorMethod: type: 'multiTenant' clusterLocatorMethods: - type: 'config' clusters: - url: https://kubernetes.default.svc name: my-prod-cluster authProvider: 'google' skipTLSVerify: false skipMetricsLookup: false -
Add to
packages/backend/src/index.ts:typescript// packages/backend/src/index.ts (excerpt) import { createRouter as createKubernetesRouter } from '@backstage/plugin-kubernetes-backend'; async function main() { const kubernetesRouter = await createKubernetesRouter({ logger: env.logger, config: env.config, permissions: env.permissions, }); apiRouter.use('/kubernetes', kubernetesRouter); // ... other routers } -
Add to
packages/app/src/App.tsxandpackages/app/src/components/catalog/EntityPage.tsx:typescript// packages/app/src/App.tsx (excerpt) import { KubernetesPage } from '@backstage/plugin-kubernetes'; const routes = ( <FlatRoutes> {/* ... other routes */} <Route path="/kubernetes" element={<KubernetesPage />} /> </FlatRoutes> );typescript// packages/app/src/components/catalog/EntityPage.tsx (excerpt) import { EntityKubernetesContent } from '@backstage/plugin-kubernetes'; const serviceEntityPage = ( <EntityLayout> {/* ... other tabs */} <EntityLayout.Route path="/kubernetes" title="Kubernetes"> <EntityKubernetesContent /> </EntityLayout.Route> </EntityLayout> );
Restart Backstage, and you'll see Kubernetes information integrated into your service pages.
8. Authentication and Authorization
Securing your developer portal is paramount. Backstage offers flexible authentication and authorization mechanisms.
Authentication Providers
Backstage supports various auth providers (GitHub, Google, Okta, GitLab, LDAP, etc.). You configure them in app-config.yaml.
Example: GitHub Auth Provider
-
Register an OAuth App in your GitHub organization's settings.
- Homepage URL:
http://localhost:7007(for local dev) - Authorization callback URL:
http://localhost:7007/api/auth/github/handler/frame
- Homepage URL:
-
Add to
app-config.yaml:yaml# app-config.yaml auth: keys: ["YOUR_BACKSTAGE_AUTH_SECRET"] providers: github: development: clientId: "YOUR_GITHUB_CLIENT_ID" clientSecret: "YOUR_GITHUB_CLIENT_SECRET" -
Add to
packages/backend/src/plugins/auth.ts:typescript// packages/backend/src/plugins/auth.ts (excerpt) import { github } from '@backstage/plugin-auth-backend'; export default async function createPlugin(env: PluginEnvironment): Promise<Router> { return await createRouter({ logger: env.logger, config: env.config, database: env.database, discovery: env.discovery, tokenManager: env.tokenManager, providers: [ github.create({ signIn: { resolver: github.resolvers.oauth2ProxyUsername(), // Optional: Customize resolver for advanced mapping }, }), ], }); }
Authorization (RBAC)
Backstage's built-in authorization allows you to control who can see or do what. This is often managed through entity ownership (users and groups) and the Permissions Framework.
- Ownership: The
ownerfield incatalog-info.yamlis fundamental. Backstage uses this to determine who is responsible for a component and, by extension, who has permissions to modify it or access sensitive information. - Permissions Framework: For fine-grained control, Backstage offers a Permissions Framework. You define policies (e.g., "only members of
team-alphacan editmy-microservice") and implement them in a custom backend plugin. This is crucial for enabling features like self-service resource deletion safely.
9. Deployment Strategies for Production
Deploying Backstage to production requires careful consideration of scalability, reliability, and security.
Containerization with Docker
Backstage applications are typically deployed as Docker containers. The create-app command already generates a Dockerfile in the root of your project.
# Dockerfile
FROM node:18-bullseye-slim

# ... (Backstage generated content for building and running)

# Example of custom additions:
# EXPOSE 7007 # Backend API port
# EXPOSE 3000 # Frontend port (if serving separately)
# CMD ["node", "packages/backend", "--config", "app-config.production.yaml"]
Build your Docker image:
docker build -t my-developer-portal:latest .Kubernetes Deployment
For enterprise deployments, Kubernetes is the de-facto standard. You'll need:
- Deployment for Backend: Runs the Backstage backend service.
- Deployment for Frontend: (Optional) If you're not serving the frontend via the backend, deploy it separately.
- Service: Exposes the backend and frontend deployments.
- Ingress: Manages external access to your Backstage instance.
- Persistent Volume Claim (PVC): For the database (e.g., PostgreSQL).
- Secrets: For sensitive configuration like API keys, database credentials.
- ConfigMaps: For non-sensitive configuration, like
app-config.production.yaml.
# Example: backend-deployment.yaml (simplified)
apiVersion: apps/v1
kind: Deployment
metadata:
  name: backstage-backend
  labels:
    app: backstage
    component: backend
spec:
  replicas: 2
  selector:
    matchLabels:
      app: backstage
      component: backend
  template:
    metadata:
      labels:
        app: backstage
        component: backend
    spec:
      containers:
        - name: backend
          image: my-developer-portal:latest
          ports:
            - containerPort: 7007
          envFrom:
            - secretRef:
                name: backstage-secrets
          env:
            - name: APP_CONFIG_FILE
              value: /etc/backstage/app-config.production.yaml
          volumeMounts:
            - name: config-volume
              mountPath: /etc/backstage
      volumes:
        - name: config-volume
          configMap:
            name: backstage-config
Database
While SQLite is suitable for development, use a robust database like PostgreSQL for production. Configure the connection in app-config.production.yaml and ensure your Kubernetes deployment has access to it.
# app-config.production.yaml (excerpt)
backend:
  database:
    client: pg
    connection:
      host: ${POSTGRES_HOST}
      port: ${POSTGRES_PORT}
      user: ${POSTGRES_USER}
      password: ${POSTGRES_PASSWORD}
      database: ${POSTGRES_DATABASE}
CI/CD Integration
Automate the build, test, and deployment of your Backstage instance using your existing CI/CD pipelines (e.g., GitHub Actions, GitLab CI, Jenkins).
10. Best Practices for Backstage Adoption
Building Backstage is one thing; ensuring its successful adoption is another. Here are key best practices:
- Start Small, Iterate Often: Don't try to build the perfect portal from day one. Start with the core functionalities (Catalog, Scaffolder, TechDocs) and iterate based on developer feedback.
- Involve Developers Early: Conduct user research, run workshops, and gather feedback from target developer personas throughout the development process. This fosters ownership and ensures the portal solves real problems.
- Define Clear Ownership: The platform engineering team should own Backstage, treating it as a product. This includes maintenance, feature development, and support.
- Establish Golden Paths: Use the Scaffolder and TechDocs to define and promote standardized ways of working. Make the "right way" the "easiest way."
- Promote Docs-as-Code Culture: Encourage teams to document their services using TechDocs. Integrate documentation reviews into your PR process.
- Integrate Existing Tools: Rather than replacing everything, integrate with your existing monitoring, CI/CD, and incident management tools via plugins.
- Measure Impact: Track key metrics like onboarding time, service creation time, and developer satisfaction to demonstrate the value of your IDP.
- Keep Backstage Updated: The Backstage project evolves rapidly. Regularly update your instance to benefit from new features, bug fixes, and security patches.
Common Pitfalls to Avoid
- Treating it as Just a Wiki: Backstage is an interactive platform, not just a static documentation site. Leverage its self-service capabilities.
- Lack of Ownership/Resources: Without a dedicated team or clear ownership, Backstage can quickly become outdated and unused.
- Ignoring Developer Feedback: A portal built in a vacuum will fail. Listen to your users.
- Over-Customization Too Early: Focus on core features first. Avoid deep, complex customizations until you understand their long-term maintenance burden.
- Poor Data Quality in Catalog: An inaccurate or incomplete catalog undermines trust and discoverability. Implement processes to keep it up-to-date.
- Security Oversights: Neglecting authentication, authorization, and secrets management can expose sensitive information.
Conclusion
Building an Internal Developer Platform with Backstage is a significant investment, but one that yields substantial returns in developer productivity, operational efficiency, and overall engineering satisfaction. By providing a unified, self-service experience, platform engineering teams can empower developers to focus on delivering business value, rather than wrestling with infrastructure complexity.
Backstage, with its extensible architecture and strong community, offers the perfect foundation for this transformation. By following the guidance in this comprehensive guide – from setting up your core catalog and scaffolder to integrating plugins and adopting best practices – you're well on your way to creating a developer portal that truly unlocks your organization's engineering potential. Embrace the journey, iterate, and watch your developer experience flourish.
Start building your Backstage portal today and redefine the way your developers interact with your internal platform!
Written by
CodewithYohaFull-Stack Software Engineer with 7+ years of experience in Java, Spring Boot, and cloud architecture across AWS, Azure, and GCP. Writing production-grade engineering patterns for developers who ship real software.