
Automating Visual Regression Testing: Tools & Best Practices for Modern Frontends

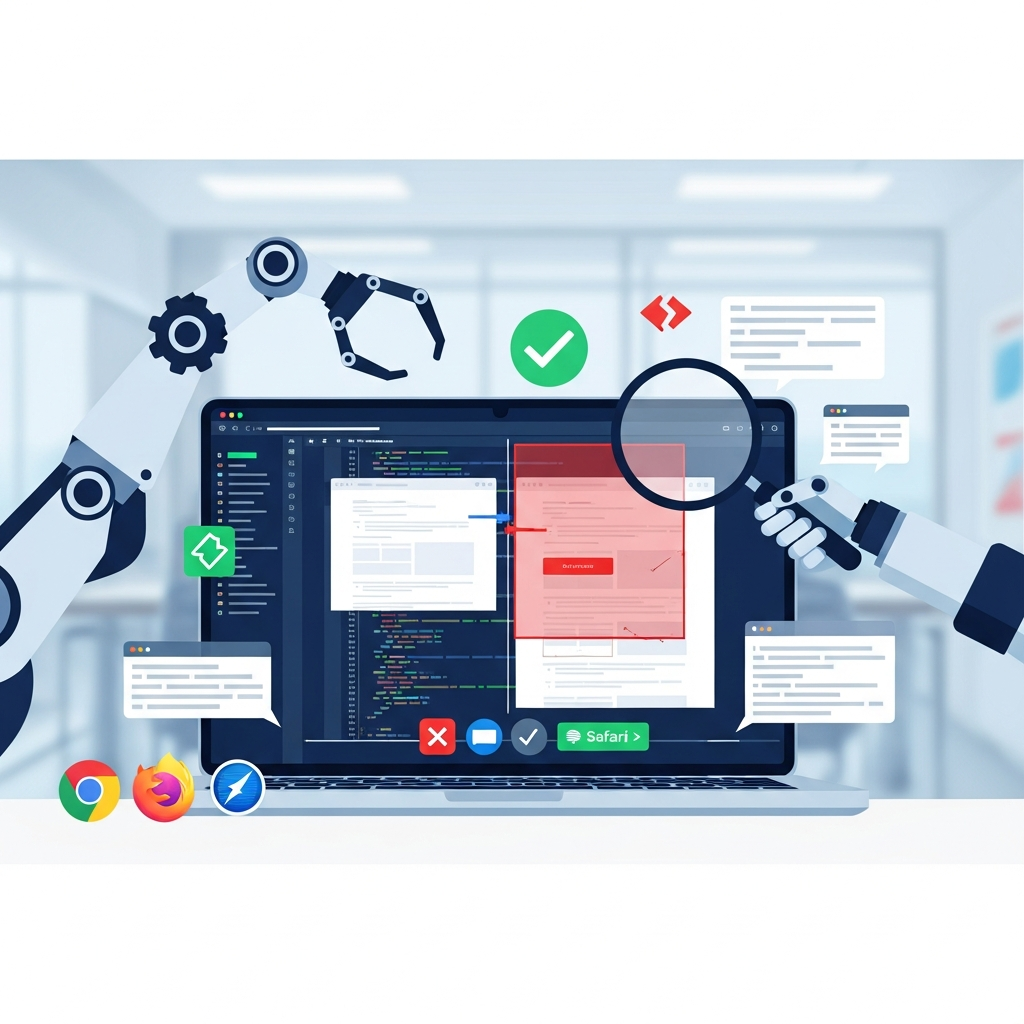
Introduction: The Unseen Changes - Why Visual Regression Testing Matters
In the fast-paced world of modern frontend development, user interfaces are constantly evolving. New features are rolled out, dependencies are updated, and refactors are implemented daily. While functional tests ensure that your application behaves as expected, they often fall short in catching subtle, unintended visual changes – a misaligned button, a shifted text block, or an altered color scheme. These "visual regressions" can significantly degrade user experience, damage brand perception, and lead to a frustrating cycle of bug reports and fixes.
This is where Visual Regression Testing (VRT) becomes indispensable. VRT is a powerful technique that automatically compares screenshots of your UI against a set of approved baseline images, flagging any pixel-level deviations. For modern frontends built with component-driven architectures, frequent deployments, and diverse device landscapes, VRT provides an essential safety net, ensuring visual consistency and boosting confidence in every release. This comprehensive guide will delve into the "how" and "why" of VRT, exploring leading tools, best practices, and strategies to integrate it seamlessly into your development workflow.
What is Visual Regression Testing (VRT)?
At its core, Visual Regression Testing is about detecting unintended visual changes in your application's user interface. It works by taking screenshots (snapshots) of specific UI components or entire pages and comparing them against previously approved baseline images. If a new snapshot differs from its baseline beyond a predefined tolerance threshold, the test fails, indicating a potential visual regression.
The VRT Process Typically Involves:
- Baseline Generation: On the first run or after an intentional UI change, a set of approved screenshots are captured and stored as baselines.
- Snapshot Capture: During subsequent test runs (e.g., in a CI/CD pipeline), new screenshots are taken of the same UI elements.
- Comparison and Diffing: The new snapshots are pixel-compared against their corresponding baselines. A "diff" image is often generated, highlighting the exact areas of discrepancy.
- Reporting: If differences exceed the tolerance, the test fails, and a report (often with visual diffs) is provided, allowing developers to review the changes.
- Baseline Updates: If the visual changes are intentional and approved, the new snapshots replace the old baselines.
The Imperative for Modern Frontends: Why VRT Isn't Optional
Modern frontend architectures, characterized by single-page applications (SPAs), component libraries, and micro-frontends, introduce complexities that make VRT not just beneficial, but crucial:
- Component-Driven Development: With frameworks like React, Vue, and Angular, UIs are built from reusable components. A small change in a common component can have ripple effects across the entire application, making manual verification impractical. VRT can test components in isolation and integration.
- Frequent Deployments & CI/CD: Agile methodologies and continuous integration/continuous delivery (CI/CD) pipelines mean code is deployed multiple times a day. VRT automates the visual QA process, preventing regressions from slipping through in rapid release cycles.
- Cross-Browser and Responsive Design: Ensuring a consistent look and feel across various browsers, operating systems, and device viewports is a monumental task manually. VRT can be configured to capture screenshots across these different contexts.
- Team Collaboration: Designers, developers, and product owners can use VRT reports to align on visual fidelity and approve UI changes, fostering better communication.
- Third-Party Libraries and CSS Frameworks: Updates to external libraries (e.g., Bootstrap, Material UI) or even browser rendering engines can introduce subtle visual shifts. VRT acts as an early warning system.
Core Concepts and Terminology in VRT
To effectively implement VRT, it's important to understand its fundamental building blocks:
- Baseline Images: These are the "source of truth" screenshots. They represent the expected and approved visual state of your UI. Baselines are typically stored in your version control system or a dedicated storage service.
- Current Snapshots: These are the screenshots captured during a test run. They are compared against the baseline images.
- Diff Images: When a difference is detected, VRT tools often generate a "diff" image. This image visually highlights the pixels or regions that have changed, making it easy to spot discrepancies.
- Tolerance/Threshold: This is a configurable percentage or pixel count that defines how much difference is acceptable between a baseline and a current snapshot before a test is marked as a failure. A higher tolerance means more leeway for minor, perhaps imperceptible, changes.
- Ignored Regions: Often, parts of a UI are dynamic (e.g., timestamps, user avatars, ads, carousels). VRT tools allow you to define specific areas within a screenshot to be ignored during the comparison process, preventing false positives.
- Viewport: The dimensions (width and height) of the browser window or device screen at which the screenshot is taken. Essential for responsive design testing.
- Anti-aliasing: The smoothing of jagged edges in digital images. Differences in anti-aliasing across different rendering engines or operating systems can sometimes lead to minor pixel differences that are visually insignificant but can cause VRT tests to fail if tolerance is too low.
Leading Tools for Visual Regression Testing
Several robust tools facilitate VRT, each with its strengths and typical use cases. We'll explore some popular options.
1. Cypress + cypress-image-snapshot
Cypress is a popular end-to-end testing framework. When combined with the cypress-image-snapshot plugin, it becomes a powerful VRT solution, allowing you to integrate visual checks directly into your E2E tests.
Pros:
- Integrates seamlessly with existing Cypress E2E tests.
- Easy to set up and use for E2E scenarios.
- Good community support.
Cons:
- Can be slower for component-level testing compared to dedicated component VRT tools.
- Requires a running application.
Code Example: Basic Cypress VRT Test
First, install Cypress and the plugin:
npm install cypress cypress-image-snapshot --save-devThen, add the plugin to cypress/support/commands.js:
// cypress/support/commands.js
import { addMatchImageSnapshotCommand } from 'cypress-image-snapshot';

addMatchImageSnapshotCommand({
  failureThreshold: 0.03, // Percentage of pixels that can be different
  failureThresholdType: 'percent',
  customDiffConfig: { threshold: 0.1 }, // Pixel diff threshold (0-1)
  capture: 'viewport' // Can be 'viewport' or 'fullPage'
});
And register it in cypress/e2e.js (or cypress/support/e2e.js):
// cypress/e2e.js or cypress/support/e2e.js
import './commands';
Finally, write your test:
// cypress/e2e/home.cy.js
describe('Home Page Visuals', () => {
  it('should visually match the baseline', () => {
    cy.visit('/'); // Visit the root URL of your application
    cy.get('.main-content').should('be.visible'); // Ensure content is loaded
    cy.matchImageSnapshot(); // Take a snapshot of the entire viewport
  });

  it('should visually match a specific component', () => {
    cy.visit('/components');
    cy.get('.card-component').should('be.visible');
    cy.get('.card-component').matchImageSnapshot('card-component-state'); // Snapshot a specific element
  });
});
2. Playwright + playwright-visual-regression
Playwright is a modern automation library from Microsoft that enables reliable end-to-end testing across browsers. Its built-in screenshot capabilities, combined with a visual regression plugin, make it an excellent choice for VRT, especially for cross-browser testing.
Pros:
- Supports Chromium, Firefox, and WebKit (Safari).
- Fast and reliable.
- Strong API for browser automation.
Cons:
- Newer ecosystem compared to Cypress.
Code Example: Basic Playwright VRT Test
Install Playwright and the plugin:
npm install @playwright/test playwright-visual-regression --save-devCreate a test file:
// tests/visual.spec.js
import { test, expect } from '@playwright/test';
import { toMatchImageSnapshot } from 'playwright-visual-regression';

// Extend Playwright's expect with the visual regression matcher
expect.extend({ toMatchImageSnapshot });

test.describe('Home Page Visuals', () => {
  test('should visually match the baseline', async ({ page }) => {
    await page.goto('http://localhost:3000'); // Your application URL
    await page.waitForSelector('.main-content'); // Wait for content to load
    await expect(page).toMatchImageSnapshot(); // Take a full page snapshot
  });

  test('should visually match a specific element', async ({ page }) => {
    await page.goto('http://localhost:3000/components');
    const cardElement = page.locator('.card-component');
    await cardElement.waitFor();
    await expect(cardElement).toMatchImageSnapshot({ name: 'card-component-state' }); // Snapshot a specific element
  });

  test('should visually match across different viewports', async ({ page }) => {
    await page.setViewportSize({ width: 768, height: 1024 }); // Tablet viewport
    await page.goto('http://localhost:3000');
    await page.waitForSelector('.main-content');
    await expect(page).toMatchImageSnapshot({ name: 'home-tablet-viewport' });
  });
});
3. Storybook + Loki / Chromatic
Storybook is an open-source tool for developing UI components in isolation. It's an ideal environment for component-level VRT. Tools like Loki and Chromatic integrate directly with Storybook.
- Loki: An open-source VRT tool specifically designed for Storybook. It captures screenshots of your stories and compares them.
- Chromatic: A commercial, cloud-based VRT solution by the Storybook team. It offers advanced features like AI-powered diffing, collaboration workflows, and automatic review of UI changes.
Pros (Storybook-based VRT):
- Tests components in isolation, reducing external factors and flakiness.
- Faster feedback loop for component changes.
- Excellent for design system maintenance.
Cons:
- Doesn't test full application flows or pages (requires E2E VRT for that).
- Chromatic is a paid service.
Code Example: Storybook with Loki (Simplified Setup)
First, set up Storybook for your components. Then install Loki:
npm install loki --save-devAdd a script to package.json:
{
  "scripts": {
    "storybook": "start-storybook -p 6006",
    "build-storybook": "build-storybook",
    "test-storybook:loki": "loki --requireReference --reactUri http://localhost:6006 --port 9009"
  }
}
Run Storybook in the background, then run Loki:
npm run storybook & # Start Storybook in background
npm run test-storybook:loki # Run Loki tests
Loki will automatically find your Storybook stories and generate/compare snapshots. For the first run, use loki update to generate baselines.
A Step-by-Step Guide to Implementing VRT
Implementing VRT effectively requires a structured approach:
Step 1: Choose Your Tool(s) Based on Needs
- E2E VRT (Cypress, Playwright): Ideal for full-page layouts, critical user flows, and integration scenarios where components interact.
- Component VRT (Storybook + Loki/Chromatic): Best for isolated component development, design system maintenance, and ensuring individual components remain visually consistent.
- Hybrid Approach: Many teams use both – component VRT for granular control and E2E VRT for holistic page views.
Step 2: Configure Your Environment
- Consistent Test Environment: Ensure your test environment (browser versions, screen resolutions, data) is as consistent as possible to minimize flakiness.
- Baseline Storage: Decide where to store your baseline images. Version control (Git) is common for smaller projects, while cloud storage or dedicated VRT platforms are better for larger ones.
- CI/CD Integration: Plan how VRT will fit into your continuous integration pipeline.
Step 3: Define Test Scenarios and Scope
- Critical Pages/Components: Start with the most important parts of your application (e.g., homepage, checkout flow, core components).
- Different States: Test components in various states (e.g., button: default, hover, active, disabled).
- Responsive Breakpoints: Capture snapshots at key responsive design breakpoints (mobile, tablet, desktop).
- User Personas/Locales: If applicable, test visual differences for different user roles or language settings.
Step 4: Generate Initial Baselines
- Run your VRT tests for the first time. The tool will typically generate baseline images.
- Crucial Step: Manual Review: Thoroughly review every generated baseline image to ensure it accurately represents the desired visual state. This is your "source of truth."
- Commit approved baselines to your version control system.
Step 5: Integrate into CI/CD
- Automate VRT runs on every pull request or commit to a main branch.
- Configure your CI pipeline to fail if VRT tests detect unapproved visual changes.
- Ensure diff reports are easily accessible to developers.
Step 6: Establish a Review and Update Process
- When VRT tests fail, developers must review the diffs.
- Intentional Change: If the change is desired and approved, update the baseline (e.g.,
npx cypress-image-snapshot --update-snapshotorloki update). This should usually be done on a feature branch and reviewed. - Unintentional Regression: If it's an unexpected bug, fix the code and re-run the tests.
- Clearly define who is responsible for reviewing and approving baseline updates.
Crafting Robust VRT: Best Practices
To maximize the value of your VRT efforts and minimize frustration, follow these best practices:
- Isolate Components for Testing: Whenever possible, test individual components in isolation (e.g., using Storybook). This reduces dependencies, makes tests faster, and pinpoints the source of visual regressions more easily.
- Control the Environment and Data: Flaky tests are the enemy. Ensure your test environment is consistent: mock API responses, use static data, control dates/times, and disable animations during tests. This eliminates external factors that could cause pixel variations.
- Handle Dynamic Content Gracefully: Identify and ignore regions of your UI that frequently change but are not relevant to visual integrity (e.g., timestamps, user avatars, ad banners, random data generators). Most VRT tools offer an option to specify ignored areas.
- Test Across Key Viewports: Don't just test on one screen size. Include snapshots at your application's critical responsive breakpoints (e.g., mobile, tablet, desktop) to ensure cross-device consistency.
- Use Meaningful Snapshot Names: Give your snapshots descriptive names that indicate what they are testing (e.g.,
HomePage_LoggedIn_Desktop,ProductCard_OutOfStock_Mobile). - Adjust Tolerance Levels Carefully: Start with a low tolerance (e.g., 0-1% pixel difference) and increase it only if you encounter too many acceptable false positives due to minor rendering differences across browsers/OS. Avoid setting it too high, or you'll miss regressions.
- Integrate into Your CI/CD Pipeline: Make VRT an automated gate in your development process. Every pull request should trigger VRT, and failures should block merging until resolved.
- Regularly Review and Update Baselines: Baselines are living documents. Establish a clear process for reviewing visual changes and updating baselines when intentional design updates occur. Outdated baselines are as harmful as no baselines.
- Use a Dedicated VRT Service for Scale (Optional): For large teams or complex applications, consider cloud-based VRT services like Chromatic or Applitools Eyes. They offer advanced features like AI-powered diffing, cross-browser grids, and collaborative review workflows.
Navigating the Minefield: Common VRT Pitfalls and Solutions
VRT can be incredibly powerful, but it's not without its challenges. Being aware of common pitfalls can save you significant time and effort.
-
Flaky Tests due to Dynamic Content:
- Pitfall: Tests fail because timestamps, random images, animations, or network-dependent data constantly change.
- Solution: Use ignore regions, mock API calls to provide static data, disable animations in test environments, or wait for elements to become stable before taking a snapshot.
-
Too Many False Positives:
- Pitfall: Minor, visually imperceptible differences (e.g., anti-aliasing variations across browsers/OS) cause tests to fail.
- Solution: Adjust the
failureThresholdslightly. Ensure the test environment is consistent (same browser version, fonts). Use a more sophisticated VRT tool that can intelligently ignore minor pixel shifts.
-
Slow Test Execution:
- Pitfall: Taking too many full-page snapshots or running VRT in a non-optimized environment leads to long CI/CD times.
- Solution: Prioritize critical areas for full-page snapshots. Focus on component-level VRT for individual elements. Utilize parallel test execution in CI/CD. Optimize browser launch arguments (e.g., headless mode).
-
Baseline Management Hell:
- Pitfall: Baselines become outdated, developers are unsure when to update them, or the process for updating is cumbersome.
- Solution: Establish a clear, documented process for baseline updates. Integrate baseline updates into feature branches and include them in code reviews. Regularly audit baselines for relevance. Consider a VRT platform that simplifies baseline management.
-
Lack of Clear Ownership:
- Pitfall: No one is responsible for reviewing VRT failures or maintaining the VRT suite.
- Solution: Assign clear ownership for VRT within the team. Integrate VRT review into the standard PR review process.
Seamless Integration: VRT in Your CI/CD Pipeline
Automating VRT within your CI/CD pipeline is where its true power is unleashed. It ensures that every code change undergoes visual scrutiny before reaching production. Here's a conceptual example using GitHub Actions for a Playwright-based VRT setup:
# .github/workflows/visual-regression.yml
name: Visual Regression Tests

on:
  pull_request:
    branches: [ main, develop ]
  workflow_dispatch:

jobs:
  visual_test:
    runs-on: ubuntu-latest
    steps:
      - name: Checkout code
        uses: actions/checkout@v3

      - name: Setup Node.js
        uses: actions/setup-node@v3
        with:
          node-version: 18

      - name: Install dependencies
        run: npm ci

      - name: Install Playwright browsers
        run: npx playwright install --with-deps

      # Start your application in the background (if not already deployed)
      # This assumes your app can be built and served locally for testing
      - name: Start application
        run: npm run start & # Or `npm run build && npm run serve`
        # Wait for the application to be ready (adjust port and command as needed)
      - name: Wait for app to be ready
        run: npx wait-on http://localhost:3000

      - name: Run Playwright Visual Regression tests
        run: npx playwright test tests/visual.spec.js
        env:
          # Configure where Playwright should store screenshots and diffs
          PLAYWRIGHT_SNAPSHOT_DIR: './tests/visual-snapshots'

      - name: Upload Visual Regression Artifacts (on failure)
        if: failure()
        uses: actions/upload-artifact@v3
        with:
          name: playwright-visual-diffs
          path: | # Path to store baselines, current, and diff images
            tests/visual-snapshots/**
            # You might also want to include a test report if generated

      # Optional: Step to update baselines (usually manual or on specific branch)
      # - name: Update Baselines (Manual Trigger)
      #   if: github.event_name == 'workflow_dispatch' && inputs.update_baselines == 'true'
      #   run: npx playwright test tests/visual.spec.js --update-snapshots
      #   env:
      #     PLAYWRIGHT_SNAPSHOT_DIR: './tests/visual-snapshots'
      # - name: Commit new baselines
      #   if: github.event_name == 'workflow_dispatch' && inputs.update_baselines == 'true'
      #   uses: stefanzweifel/git-auto-commit-action@v4
      #   with:
      #     commit_message: 'feat(VRT): Update visual baselines'
      #     branch: ${{ github.ref }}
This workflow will run VRT on every pull request. If tests fail, it uploads the diff images as artifacts, allowing developers to easily inspect what changed.
Beyond the Basics: Advanced VRT Strategies
As your VRT maturity grows, consider these advanced techniques:
- Cross-Browser and Cross-Device Testing: Expand your VRT suite to capture snapshots across different browsers (Chromium, Firefox, WebKit) and device types/viewports. Tools like Playwright excel here, or cloud-based VRT services offer extensive browser grids.
- Accessibility Visual Testing: Beyond just pixel-perfect comparisons, some advanced VRT tools can integrate with accessibility checkers to visually highlight accessibility violations (e.g., low contrast, missing alt text) directly on the screenshots.
- AI-Powered Visual Testing: Services like Applitools Eyes leverage AI to understand the meaning of UI elements rather than just raw pixels. This drastically reduces false positives from minor rendering differences and allows for more robust comparisons, even when layouts shift slightly.
- Visual Testing for Email Templates: Ensure your HTML email templates render consistently across various email clients, which is notoriously challenging.
- A/B Testing VRT: Use VRT to ensure that different versions of your UI in an A/B test are rendered as intended and that no unintended regressions occur on either variant.
Conclusion: Building Visually Stable Frontends
Visual Regression Testing is no longer a luxury but a necessity for modern frontend development teams. It bridges the gap left by traditional functional testing, providing an automated safety net against unintended UI changes that can silently erode user trust and experience. By strategically choosing the right tools, meticulously defining your test scope, adhering to best practices, and integrating VRT into your CI/CD pipeline, you empower your team to deliver visually consistent and high-quality user interfaces with confidence and speed.
Embrace VRT, and transform the anxiety of UI changes into an opportunity for greater stability and a more delightful user experience. Start small, iterate, and watch your frontend's visual integrity flourish.
Written by
CodewithYohaFull-Stack Software Engineer with 7+ years of experience in Java, Spring Boot, and cloud architecture across AWS, Azure, and GCP. Writing production-grade engineering patterns for developers who ship real software.