Continuous Integration (CI) is a development practice that allows developers to automatically integrate and test their code changes as they are committed to the repository. In this article, we'll guide you through the steps to implement a CI pipeline for a React and TypeScript application using Jenkins. We'll cover installation, building, checking circular dependencies, running tests with coverage, and ensuring code formatting with Prettier.
Prerequisites
- Node.js and npm installed on your machine
- Jenkins server installed and accessible.
Set up Jenkins
-
Install Jenkins: Follow the official Jenkins installation guide for your operating system: Jenkins Installation
-
Install Required Jenkins Plugins.
Install the following plugins in Jenkins:
- NodeJS Plugin
- HTML Publisher Plugin
- Checkstyle Plug-in
- Cobertura Plugin
Jenkins Job Configuration
Create a New Jenkins Job
Open Jenkins and create a new Freestyle project by following the steps below :
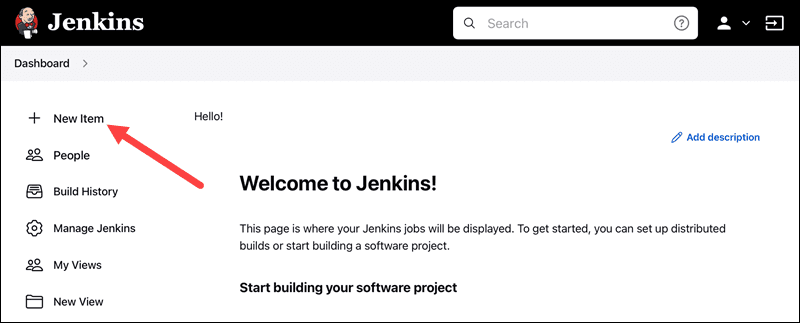
- Open jenkins and click the New Item link on the left-hand side of the Jenkins dashboard.
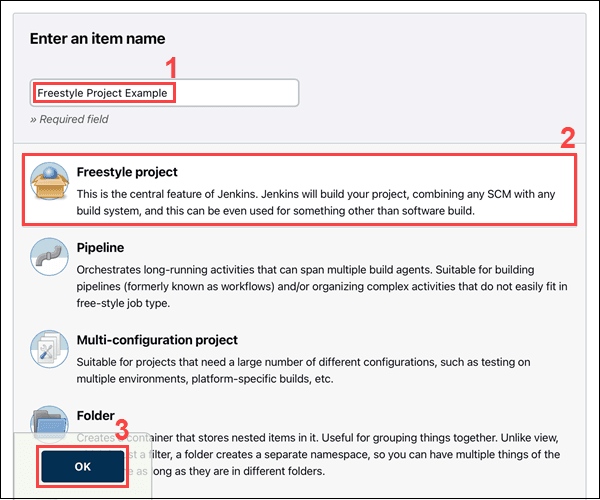
- Enter the new project's name in the Enter an item name field and select the Freestyle project type. Click OK to continue
Configure Source Code Management
Select your version control system (e.g., Git) and provide repository details
Build Environment
Add a build step to install Node.js:
**Install Node.js using NodeJS Plugin**
nvm install 14
Build Steps
add the following build steps:
**Install Dependencies**
npm install

**Build the Application**
npm run build
Static Code Analysis
Add a build step for checking circular dependencies and generating code analysis reports:
**Install madge for circular dependency check**
npm install -g madge

**heck Circular Dependencies**
madge --circular src

**Generate Code Analysis Reports**
npm run lint
Unit Testing with Coverage
Add a build step for running tests with coverage:
**Run Tests with Coverage**
npm test -- --coverage
**or**
npm run test:ci
Code Formatting
Add a build step to check code formatting with Prettier:
**Check Code Formatting**
npm run prettier:check
**or**
npx prettier "**/*.ts" "**/*.tsk" --check
Publish HTML Reports
Add a post-build action to publish HTML reports by configuring the HTML Publisher Plugin to publish reports from the coverage/lcov-report directory.
Publish JUnit Test Result
Add a post-build action to publish JUnit test results by configuring the Publish JUnit test result report to point to the generated junit.xml file.
Save and Run
Save the Jenkins job configuration and run the job to verify that all the steps are executed successfully.
Pipleline as code with Jenkinsfile (Optional)
If you prefer defining your pipeline as code, you can use a Jenkinsfile. Create a Jenkinsfile in the root of your project with the following content:
pipeline {
    agent any

    tools {
        nodejs '14'
    }

    stages {
        stage('Install and Build') {
            steps {
                script {
                    sh 'npm install'
                    sh 'npm run build'
                }
            }
        }

        stage('Static Code Analysis') {
            steps {
                script {
                    sh 'npm install -g madge'
                    sh 'madge --circular src'
                    sh 'npm run lint'
                }
            }
        }

        stage('Unit Testing with Coverage') {
            steps {
                script {
                    sh 'npm test -- --coverage'
                }
            }
        }

        stage('Code Formatting Check') {
            steps {
                script {
                    sh 'npm run prettier:check'
                }
            }
        }
    }

    post {
        always {
            publishHTML([allowMissing: false, alwaysLinkToLastBuild: true, includes: '**/coverage/lcov-report/index.html', reportDir: 'coverage', reportFiles: 'index.html', reportName: 'Code Coverage'])
            junit 'junit.xml'
        }
    }
}
This Jenkinsfile defines a declarative pipeline with stages for installation, building, static code analysis, unit testing, and code formatting checks.
Conclusion
With Jenkins and the configured pipeline, you now have an automated CI process for your React and TypeScript application. Jenkins will trigger the pipeline whenever changes are pushed to your repository, ensuring that your code is built, tested, and analyzed with every commit. Adjust the pipeline steps based on your project's specific needs, and you'll have a robust CI setup for continuous development.
That's all for this article, I hope you enjoyed it, and until our next article, take care.
Thank you!

Written by
CodewithYohaFull-Stack Software Engineer with 5+ years of experience in Java, Spring Boot, and cloud architecture across AWS, Azure, and GCP. Writing production-grade engineering patterns for developers who ship real software.